

Swing Trading Cryptocurrencies: Riding Price Waves for Profit
Swing trading cryptocurrencies involves taking advantage of the short to medium-term price swings that regularly occur in the crypto market. Unlike day trading, where traders open and close positions within a single trading day, swing traders hold their positions for several days or even weeks. This strategy allows traders...
Read More
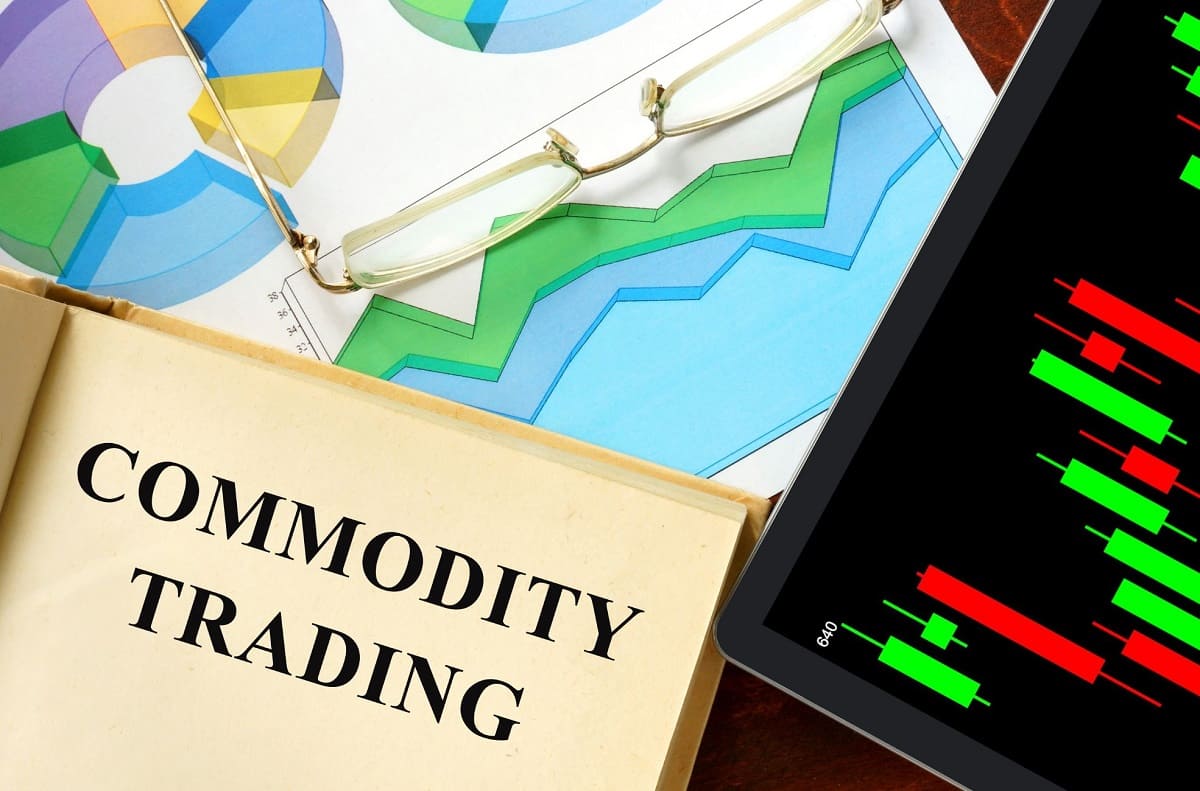
Commodity Trading for Beginners: Gold, Oil, and More
If you’re new to this financial landscape, you’re in the right place. In this comprehensive guide, we will demystify the world of commodity trading for beginners, with a specific focus on gold, oil, and more. Whether you’re looking to diversify your investment portfolio, explore new trading opportunities, or simply...
Read More

Trading Cryptocurrency Pairs: Strategies Beyond Bitcoin and Ethereum
While Bitcoin and Ethereum remain the poster children of the crypto market, savvy traders are venturing into the world of altcoins and exploring trading strategies beyond the big two. This article is your comprehensive guide to mastering the art of trading cryptocurrency pairs beyond Bitcoin and Ethereum. We will...
Read More

Forex Trading Myths: Debunking Common Misconceptions
Forex trading stands as one of the most lucrative yet misunderstood avenues for wealth generation. It’s a domain where fortunes are made and lost in the blink of an eye. Unfortunately, it’s also a realm fraught with myths and misconceptions that can deter potential traders or lead them astray....
Read More

Options Trading Demystified: A Beginner’s Guide to Options
If you’ve ever wondered how financial markets work and how to make your money work for you, you’ve come to the right place. Options trading is a powerful financial instrument that can help you achieve your financial goals, whether it’s growing your wealth, hedging against risks, or simply gaining...
Read More
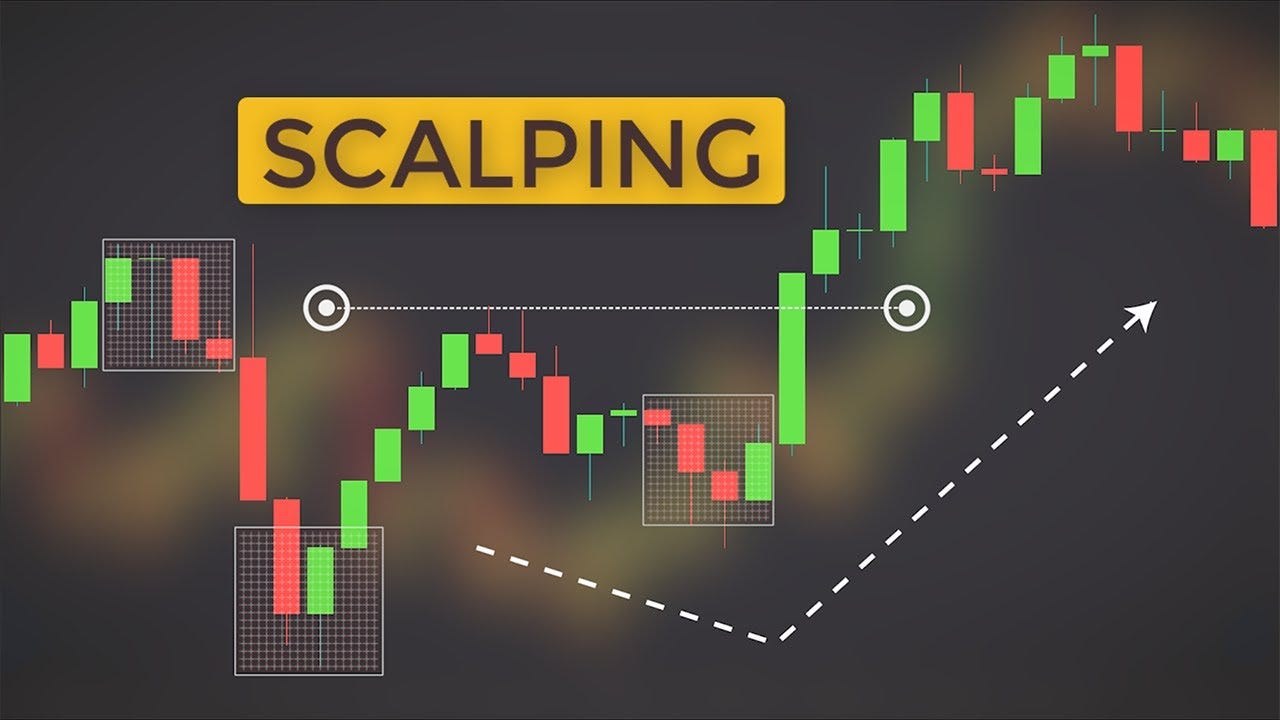
The Art of Scalping: Quick Profits in Short Timeframes
Scalping, as the name suggests, involves profiting from small price fluctuations in assets, such as stocks, currencies, or cryptocurrencies, over short periods. Traders executing scalping strategies typically aim to secure minimal gains from multiple trades throughout the day. This approach contrasts with traditional long-term investing, where investors hold assets...
Read More